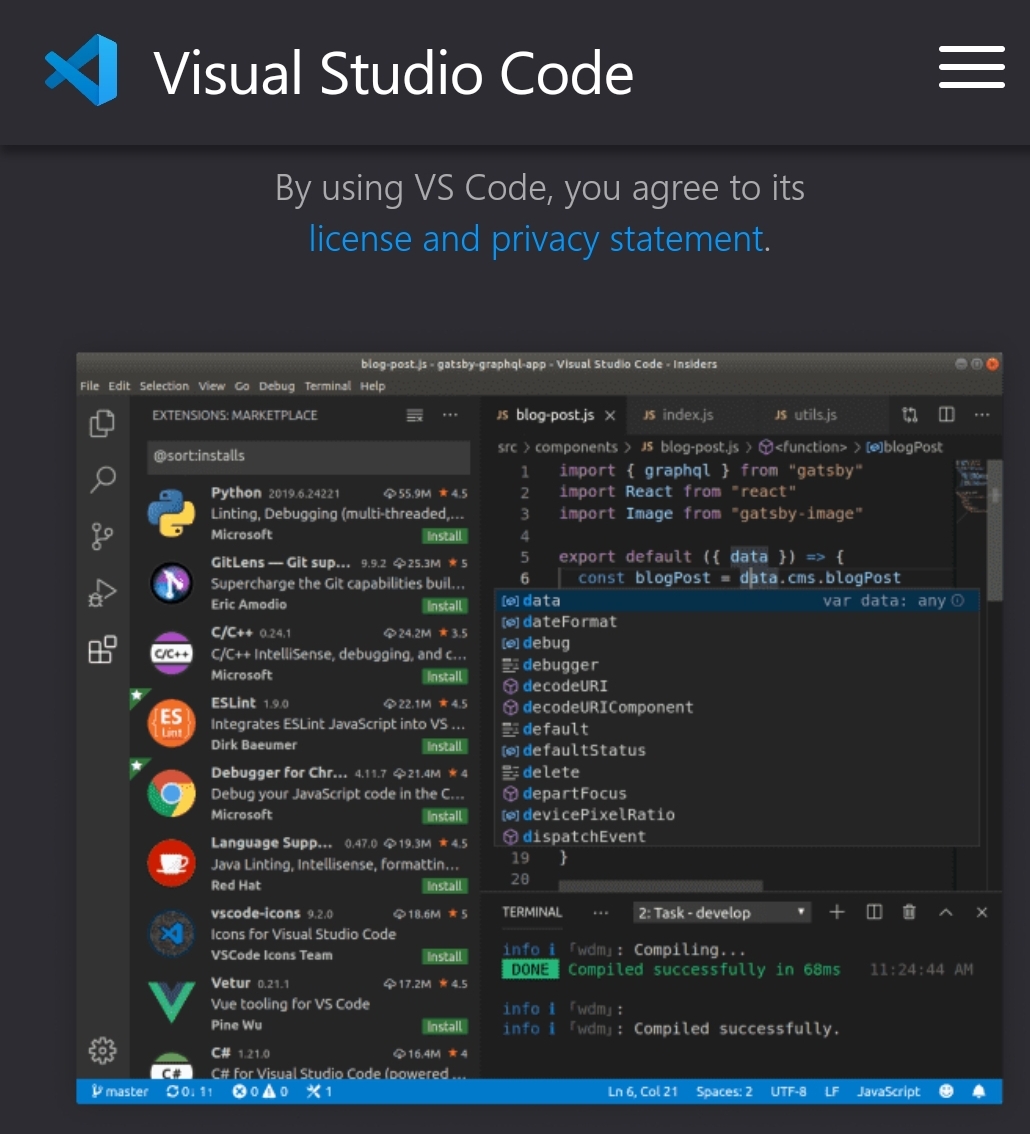
An Integrated Development Environment (IDE) provides developers with various tools to efficiently write and manage code. In this post, I will introduce some of the most popular IDEs, explaining their installation methods, advantages, disadvantages, and recommendations for use.
Easy Navigation
- Visual Studio Code (VS Code)
- IntelliJ IDEA
- Eclipse
- Xcode
- Android Studio
1. Visual Studio Code (VS Code)
Installation Method:
- Visit the official Visual Studio Code website.
- Download the version compatible with your operating system (OS).
- Run the downloaded installer and follow the installation process.
Advantages:
- Lightweight and Fast Performance: Offers quick startup times and excellent responsiveness.
- Strong Community: Boasts a vast ecosystem of extensions.
- Support for Multiple Languages: Supports various programming languages.
Disadvantages:
- Relatively Weaker Debugger: The debugger may be somewhat limited compared to other IDEs.
- Performance Issues with Large Projects: May experience performance degradation with very large projects.
2. IntelliJ IDEA
Installation Method:
- Go to the IntelliJ IDEA download page.
- Choose between the Community (free) or Ultimate (paid) versions.
- Run the downloaded installer and follow the instructions to install.
Advantages:
- Powerful Autocompletion and Refactoring Tools: Enables effective coding.
- Extensive Plugins: Allows the addition of many features as needed.
- Strong Debugger: Provides intuitive and detailed debugging options.
Disadvantages:
- Cost: The Ultimate version is paid.
- Resource Intensive: May use a significant amount of system resources, potentially slowing down some computers.
3. Eclipse
Installation Method:
- Download the Eclipse Installer from the official Eclipse download page.
- Run the downloaded installer and select the necessary packages to install.
Advantages:
- Variety of Plugins: Easy to add desired functionalities.
- Powerful Java Development Tools: Offers optimized features for Java development.
- Open Source: Available for free use.
Disadvantages:
- User Interface: Sometimes complex and non-intuitive.
- Start-up Time: Initial loading can be lengthy.
4. Xcode
Installation Method:
- Visit the App Store on your Mac.
- Use the search function to find “Xcode.”
- Click “Get” or “Install” to download and install.
Advantages:
- Optimized for iOS and macOS App Development: Essential for developing apps for Apple platforms.
- Powerful Interface Builder: Provides convenient drag-and-drop features for UI design.
- Simulator: Includes a powerful simulator for testing apps on various Apple devices.
Disadvantages:
- Platform Limitation: Only available for macOS, not usable on Windows or Linux.
- Resource Intensive: Can be slow and consume a lot of system resources.
5. Android Studio
Installation Method:
- Visit the Android Studio download page.
- Select the version appropriate for your OS.
- Run the downloaded installer and proceed with the installation as guided.
Advantages:
- Optimized for Android Development: Provides all necessary features for developing Android apps.
- Powerful Emulator: Allows testing apps on various Android devices and OS versions.
- Gradle Integration: Perfectly integrated with the powerful build system Gradle.
Disadvantages:
- Start-up Time and Performance: Can be slow to start and sluggish on large projects or slower computers.
- Complexity: May have a steep learning curve and complex setup and configuration.
When choosing an IDE for app development, consider the user interface that you are comfortable with, the supported programming languages and tools, and the necessary features. Also, the platform of the app you are developing (e.g., iOS, Android, Web) and whether the IDE matches your development team’s technical stack are important factors to consider.